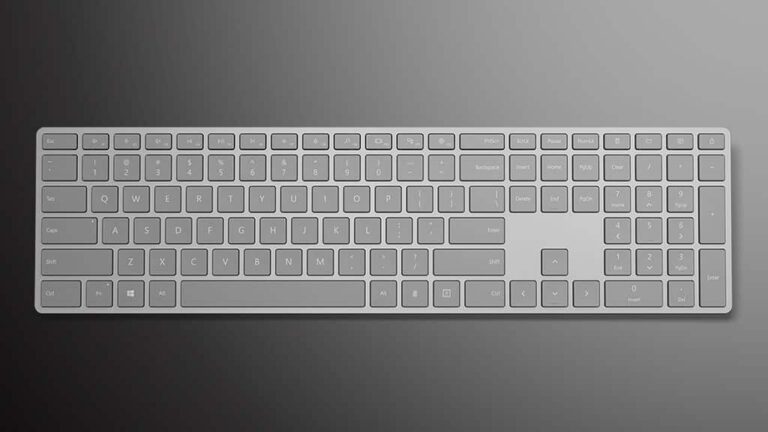
Overall, if you have a hard time using the Surface Keyboard pairing button to pair the keyboard with your computer, reset is the best solution. Besides that, you could turn Airplane mode on and off, run Bluetooth troubleshooter, check out the batteries, update the keyboard driver, … Read to the end to learn what must be done to put Surface Keyboard to good use.
Surface Keyboard Not Pairing: Fixes

Reset
- Step 1: Press Windows + I to open Settings
- Step 2: Choose Devices, locate Surface Keyboard in Bluetooth & other devices then select it.
- Step 3: Hit Remove device.
- Step 4: Press and hold the Surface Keyboard pairing button for about 7 seconds. Let go as soon as the light above Up arrow key blinks. Next, go back to Bluetooth & other devices, click Add Bluetooth & other devices then pick Surface Keyboard. Proceed to enter the code once prompted, hit Enter and follow onscreen instructions.
- Step 5: See how things turn out.
Turn Airplane Mode On And Off
- Step 1: Press Windows + I to open Settings, select Network & Internet then choose Airplane mode.
- Step 2: Toggle the switch on and wait for a minute.
- Step 3: Toggle the switch off, use the Surface Keyboard pairing button to pair the keyboard with your computer and witness the result.
Run The Bluetooth Troubleshooter
- Step 1: Press Windows + I to open Settings.
- Step 2: Click Update & Security then pick Troubleshoot.
- Step 3: Choose Additional troubleshooters, select Bluetooth and hit Run the troubleshooter
- Step 4: If the troubleshooter manages to identify the root of the trouble, click Apply this fix.
- Step 5: Restart your computer.
Update The Keyboard Driver
- Step 1: Go to Search bar, type devmgmt.msc and press Enter to open Device Manager.
- Step 2: Expand Keyboards, right-click Surface Keyboard and pick Update driver.
- Step 3: Follow onscreen instructions.
- Step 4: Restart your computer after the process finishes.
- Step 5: When the screen comes back on, pair the keyboard with your computer one more time.
Check Out The Batteries
As a wireless model, Surface Keyboard draws power from batteries so if its batteries deplete, it won’t work. To determine whether batteries of the keyboard must be replaced, all you have to do is press Caps Lock, Numlock and other keys. If the indicators above the keys light up, there is no need to replace batteries. On the other hand, if the indicators don’t respond, pick up replacement batteries.
Q&A
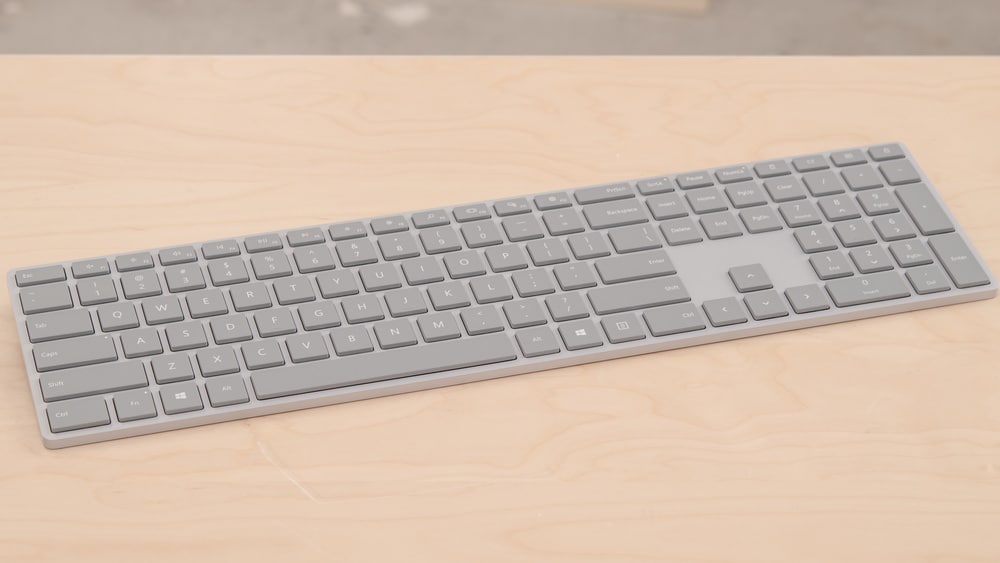
Why does the light above Up arrow key of Surface Keyboard flash three times and turn off?
That means Surface Keyboard is currently connected to another device in the vicinity. Disconnect Surface Keyboard from that device to be able to pair it with your computer.
How come what I type on the keyboard doesn’t match what I see on the screen?
- Step 1: Press Windows + I to open Settings, select Time & Language and choose Language.
- Step 2: Take a look at Keyboard language (the input language) and PC language (the display language) then apply changes if necessary.
- Step 3: Type something.
Is it possible to customize the change language shortcut?
- Step 1: Press Windows + I to open Settings, select Devices and choose Typing.
- Step 2: Click Advanced keyboard settings then pick Input language hotkeys.
- Step 3: Configure the settings as you see fit, choose Apply and select OK.
Why does the Surface Keyboard keep blinking red?
Surface Keyboard is going to blink red if its batteries approach depletion. To avoid interruption, replace your batteries at the earliest opportunity.
What must be done to add an input language?
- Step 1: Press Windows + I to open Settings, select Time & Language and choose Language.
- Step 2: Locate the language you want to add under Preferred languages, click it and pick Options
- Step 3: Choose Add a keyboard, select your preferred keyboard and follow onscreen instructions.


I am Anshul Rana, an experienced author specializing in PC gear reviews and Windows 10 software tutorials. With a strong passion for technology and an in-depth understanding of the PC industry, I provide insightful and detailed analyses of computer peripherals, gaming gear, and software solutions. My writing style is concise yet informative, making complex topics accessible to both beginners and advanced users. Through my reviews and tutorials, I aim to offer valuable guidance, helping readers make informed decisions to enhance their PC experience and explore the vast possibilities of Windows 10 software.
