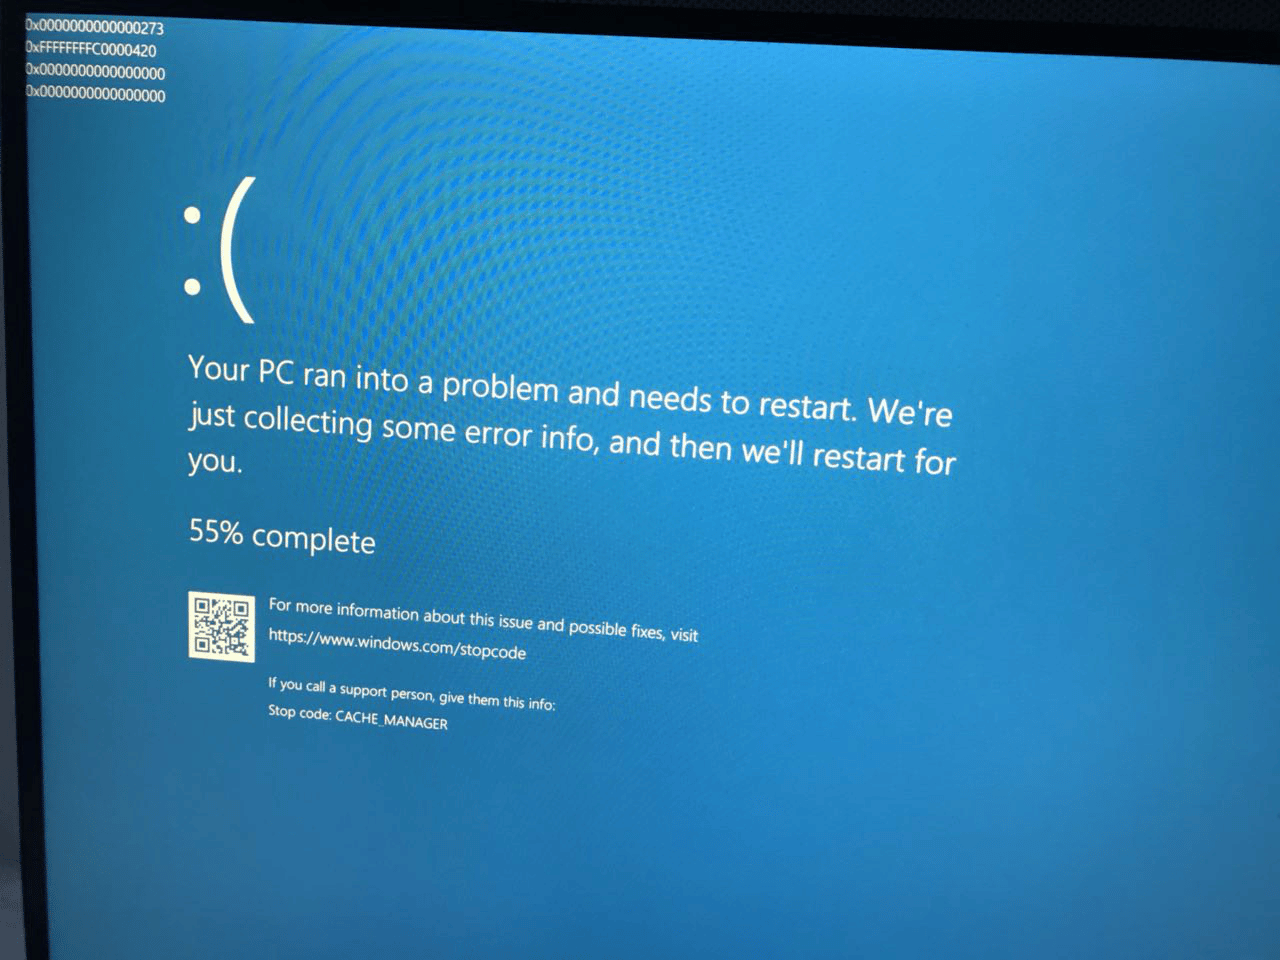
Many issues could lead to the BSOD error and Stop Code: CACHE_MANAGER but it’s always wise to run the BSOD troubleshooter. Besides that, you can update Windows, update drivers, run SFC/DISM scan, and so on. Your computer keeps showing BSOD error code CACHE_MANAGER and you don’t know how to fix it? Then you should read this article to the end.
Why Stop Code: CACHE_MANAGER Occurs
Windows
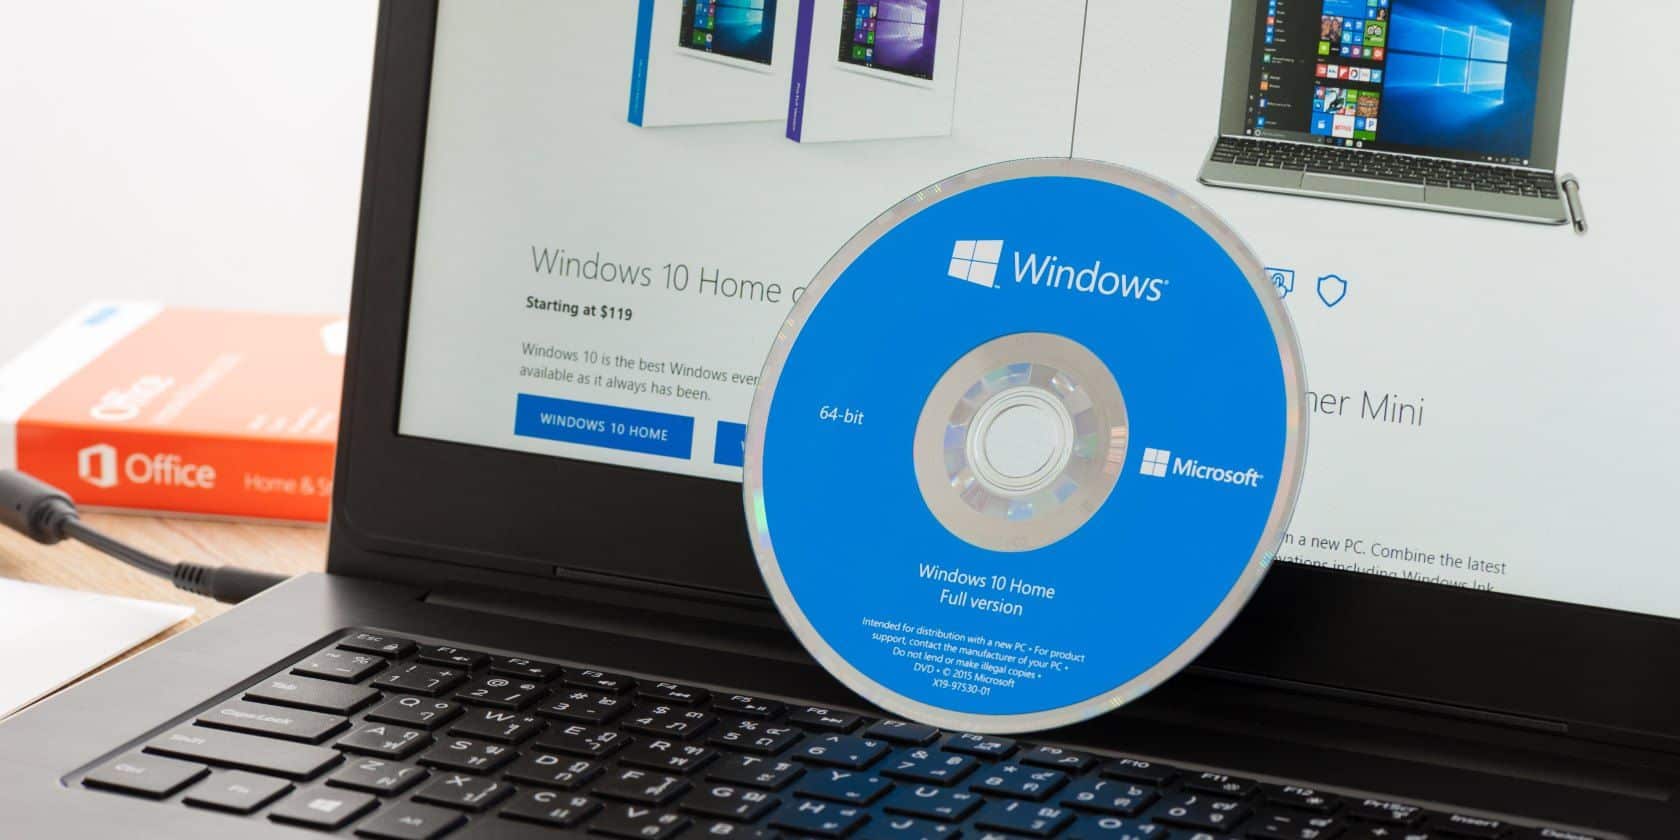
Windows updates include bug fixes as well as increased compatibility and performance. That being said, if you are using an outdated version of Windows, consider updating it to minimize the odds of encountering problems.
Drivers
For your information, CACHE_MANAGER is an error code related to hardware. Therefore, there is a possibility that it could be caused by corrupted or incompatible drivers.
Corruption
System files are without a doubt a crucial part of any computer. Needless to say, if these files are damaged somehow, problems such as BSOD ensues.
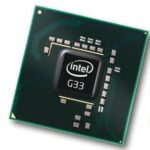
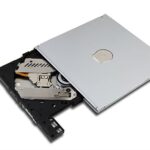
Hardware
Upgrading your computer with newer, better hardware is all well and good, but doing so thoughtlessly may cause more harm than good. New devices have to be compatible with your motherboard, or the entire system’s stability will be compromised.
Malware
Among the causes of BSOD errors, nothing exceeds malware once it comes to notoriety. If you have recently downloaded and installed suspicious files/programs, it is wise to take malicious software into account.
Ways To Resolve CACHE_MANAGER
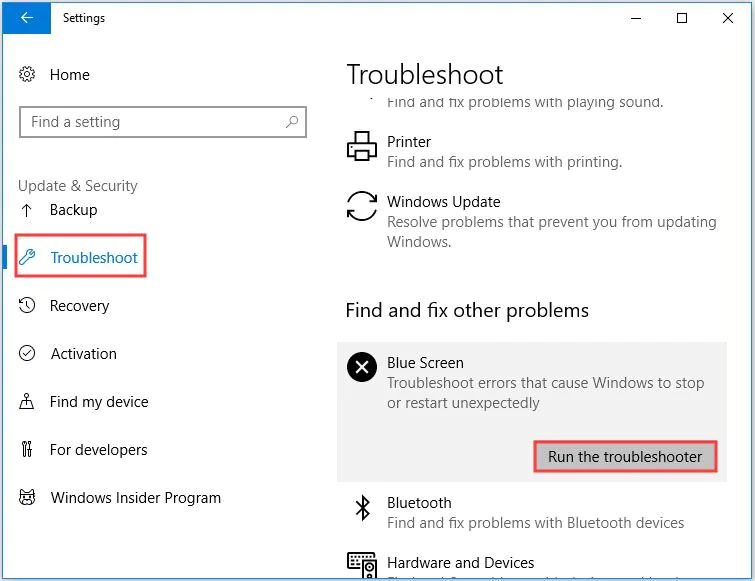
Run The Blue Screen Troubleshooter
- Step 1: Press Start, open Settings and go to Updates & Security.
- Step 2: On the left pane, select Troubleshoot.
- Step 3: Under Find and fix other problems, click Blue Screen > Run the troubleshooter.
- Step 4: Follow the on-screen prompts to work through the wizard.
- Step 5: Once finished, reboot your computer and check whether the problem persists.
Update Windows
- Step 1: Press Windows + I to open Settings, click Update & Security and pick Check for updates in Windows Update.
- Step 2: If an update is available, allow Windows to download and install it.
- Step 3: Once the update completes, restart your computer.
Update Your Drivers
Since it is difficult to precisely identify which drivers are at fault, you might as well update them all. Though keeping all of your hardware drivers up-to-date is ideal, updating drivers via Device Manager manually is time-consuming and requires a lot of input from the user. Hence, it is recommended to use a driver manager to assist you with this task.
- Step 1: Download and install a driver manager (DriverBooster, DriverEasy, Drivers Cloud, …) according to your liking.
- Step 2: Once installed, launch the program, press Scan and wait for the scan process to finish.
- Step 3: Depending on the software, click Update or Update all.
- Step 4: Once finished, reboot your computer and check.
Run SFC/DISM And CHKDSK
While tackling corruption in system files, quite a few Windows users hold SFC and DISM scans in high esteem. Running a CHKDSK command is also recommended to identify hard disk failure.
- Step 1: Press Windows key, type cmd and hit Run as administrator.
- Step 2: Run the command sfc /scannow in Command Prompt (Admin) to perform the SFC scan.
- Step 3: After the SFC scan finishes, run the following commands one by one to perform the DISM scan:
- DISM /Online /Cleanup-Image /ScanHealth
- DISM /Online /Cleanup-Image /CheckHealth
- DISM /Online /Cleanup-Image /RestoreHealth
- Step 4: After DISM scan completes, run chkdsk /f /r C: command for all of your drive partitions, replacing C: with the respective names.
- Step 5: Proceed to run the command exit to close Command Prompt.
- Step 6: Restart your computer and see how things turn out.
Take Hardware Into Account
Since CACHE_MANAGER can be caused by incompatible hardware, any piece recently added to your computer is a possible culprit. Remove/replace these devices and see if the problem persists. If you have not changed anything hardware related recently, try performing a memory test as the RAM is the most common cause.
- Step 1: Prepare an USB flash drive and download Memtest86+.
- Step 2: Put Memtest86+ onto the USB flash drive.
- Step 3: Shut down your computer and boot from the flash drive.
- Step 4: Let Memtest86+ run for a few hours and check the results.
Scan For Malware
If you suspect malware to be responsible for the BSOD error, you should run a scan at your earliest convenience. Use your third-party antivirus software if you have one. Otherwise, go through the following steps to use Windows Defender to perform a scan.
- Step 1: Press Windows + I to open Settings.
- Step 2: Select Update & Security and then Virus & threat protection in Windows Security.
- Step 3: Click Scan options, pick Full scan and click Scan now.
- Step 4: Allow the scan to finalize then restart your computer.


I am Anshul Rana, an experienced author specializing in PC gear reviews and Windows 10 software tutorials. With a strong passion for technology and an in-depth understanding of the PC industry, I provide insightful and detailed analyses of computer peripherals, gaming gear, and software solutions. My writing style is concise yet informative, making complex topics accessible to both beginners and advanced users. Through my reviews and tutorials, I aim to offer valuable guidance, helping readers make informed decisions to enhance their PC experience and explore the vast possibilities of Windows 10 software.