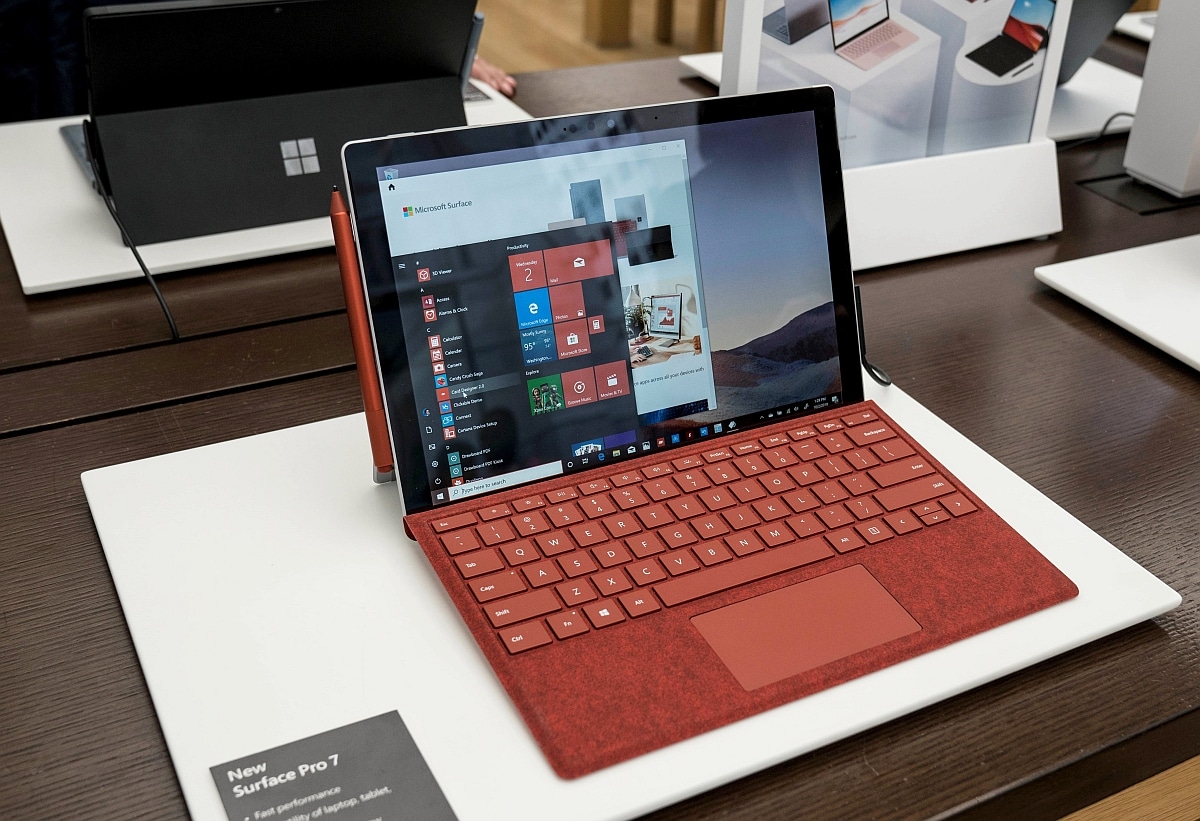
While Surface Pro 7 usually gives a good account of itself in use, it still experiences issues at times and Surface Pro 7 screen flicker is one of them. Once it comes to the flickering screen of Surface Pro 7, outdated display driver is the leading cause so the driver update is the best solution. Depending on the situation, you should also consider modifying the refresh rate, updating Windows, performing SFC and DISM scans, using System Restore, contacting customer service, … Read to the end to put an end to the flickering and enjoy your Surface Pro 7 to the fullest.
Surface Pro 7 Screen Flicker: Suspects

In the course of operation, Surface Pro 7 could run into some problems but regarding Surface Pro 7 screen flicker, the list of suspects includes:
- Driver.
- Refresh rate.
- Windows.
- Corruption.
- Hardware.
What You Could Do

Update Driver
- Step 1: Press Windows key, type devmgmt.msc and hit Enter.
- Step 2: In Device Manager, expand Display adapters, right-click your graphics card and pick Update driver.
- Step 3: Hit Search automatically for updated driver software.
- Step 4: Once the update completes, restart your computer.
- Step 5: When the screen comes back on, determine whether the issue persists.
Note: You recently updated the driver of your graphics card? Then there is a good chance the new driver is the root of the trouble and you should roll back the driver to the previous version.
- Step 1: Open Device Manager, right-click your graphics card in Display adapters and pick Properties.
- Step 3: Go to the Driver tab, hit Roll Back Driver and follow onscreen instructions.
- Step 3: Restart your computer.
Modify The Refresh Rate
- Step 1: Press Windows + I to open Settings, select System and choose Advanced display settings in Display.
- Step 2: Hit Display adapter properties, go to Monitor tab and change Screen refresh rate to 60 Hz.
- Step 3: Click Apply, pick OK and restart your computer.
Note: On occasions, it’s a good idea to disable Adaptive Brightness too. To do so, press Windows + I to open Settings, select System and uncheck the checkbox next to Change brightness automatically when lighting changes. After you finish, close all windows and see how things turn out.
Windows Update
- Step 1: Press Windows + I to open Settings, click Update & Security then pick Check for updates in Windows Update.
- Step 2: If an update for Windows is available, download and install it.
- Step 3: As soon as the update completes, restart your computer.
Perform SFC And DISM Scans
- Step 1: Press Windows key, type cmd and hit Run as administrator.
- Step 2: In Command Prompt (Admin), run the command sfc /scannow to perform SFC scan.
- Step 3: Following the conclusion of the SFC scan, run the following commands in In Command Prompt (Admin) to perform the DISM scan:
- DISM /Online /Cleanup-Image /ScanHealth
- DISM /Online /Cleanup-Image /CheckHealth
- DISM /Online /Cleanup-Image /RestoreHealth
- Step 4: Close Command Prompt, restart your computer and witness the result.
Make Use Of System Restore
- Step 1: Press Windows key, type System Restore and hit Enter.
- Step 2: Select System Restore then choose a restore point.
- Step 3: Initiate the restoration.
Contact Customer Service
If none of the above work, it’s highly likely that components of Surface Pro 7 have sustained damages. Regarding hardware problems, you cannot do much on your own so you should contact customer service and prepare the device for service. If your warranty is still valid and it’s not your fault that your Surface Pro 7 is damaged, you don’t need to pay to have the device repaired/replaced.
Questions And Answers
Where can I find the warranty details of my Surface Pro?
To check out the warranty of your device, press Windows key, type Surface, hit Enter then expand the Warranty and Services section. Alternatively, you could go to account.microsoft.com/devices, locate your device and hit it to take a look at its warranty.
How do I submit a repair request?
- Step 1: Launch your web bower, visit account.microsoft.com/devices and go to Device service and repair page.
- Step 2: Click the device you want to repair from the list of devices then follow on-screen instructions to complete the repair request. If your device is unlisted, pick Register and register it.
- Step 3: Wait.

I am Anshul Rana, an experienced author specializing in PC gear reviews and Windows 10 software tutorials. With a strong passion for technology and an in-depth understanding of the PC industry, I provide insightful and detailed analyses of computer peripherals, gaming gear, and software solutions. My writing style is concise yet informative, making complex topics accessible to both beginners and advanced users. Through my reviews and tutorials, I aim to offer valuable guidance, helping readers make informed decisions to enhance their PC experience and explore the vast possibilities of Windows 10 software.