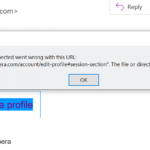
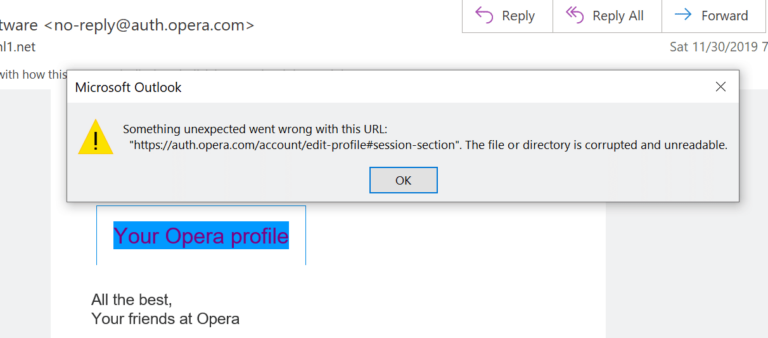
The Software Licensing Service Reported That The Product SKU Is Not Found

If you run into the error “The Software Licensing service reported that the product SKU is not found”, it’s highly likely that you have yet to activate your Windows Server. To dismiss the error, all you have to do is to carry out the activation of Windows Server. New to Windows Server and don’t know a lot about the activation process? Then this article could help you out. 

What Must Be Done 

If You Have A Standard License Key

Note: In case you don’t know, the activation process varies between Windows Server versions. Thus, it’s strongly recommended that you check out your version of Windows Server. To do so, sign into your Windows Server, press Windows + I, expand System and hit About. Your version of Windows Server should soon appear on the screen. 

Standard Edition 

  • Step 1: Sign into your Windows Server, go to Search bar, type PowerShell and hit Run as administrator. 
  • Step 2: In Windows PowerShell (Admin), run the command slmgr /ipk your_product_key
  • Step 3: Hit OK after you see the message “Installed product key successfully”.
  • Step 4: Proceed to run the command slmgr /ato in Windows PowerShell (Admin). 
  • Step 5: The moment the message shows up “Activating Windows, Server Standard edition. Product activated successfully” appears, hit OK and see how things turn out. 

Note: If your PC uses another version of Windows Server, you need to convert to Standard Edition and then go through the steps above to activate Windows Server. 

Evaluation Edition 

  • Step 1: Sign into your Windows Server, go to Search bar, type cmd and hit Run as administrator. 
  • Step 2: In Command Prompt (Admin), run the command  DISM /Online /Set-Edition:ServerStandard /ProductKey:your_Product_Key/AcceptEula
  • Step 3: Type Y and press Enter to confirm then restart your computer. 

Datacenter Edition 

  • Step 1: Sign into your Windows Server, open Command Prompt (Admin) then run the command DISM /Online /Set-Edition:ServerDatacenter /ProductKey:your_Product_Key/AcceptEula
  • Step 2: Type Y and press Enter to confirm.
  • Step 3: Restart your computer. 

If You Have A VLC MAK License Key

  • Step 1: Sign into your Windows Server, open Command Prompt (Admin) then run the command slmgr /ipk 12345-12345-12345-12345-12345 (VLSC key)
  • Step 2: Hit OK after you see the message “Installed product key successfully”.
  • Step 3: Proceed to run the command slmgr /ato in Command Prompt (Admin). 
  • Step 4: Hit OK as soon as you see the message “Activating Windows, Server Standard edition. Product activated successfully”.
  • Step 5: Witness the result. 

FAQs

Is it possible to activate Windows via phone? 

In times of need, you can activate Windows using your phone by going through the steps down below: 

  • Step 1: Press Windows + R to open Run box, type slui.exe 4 and hit OK. 
  • Step 2: In Windows Activation, click the drop-down arrow, pick your country and hit Next.
  • Step 3: Call the phone number on the screen. Once you receive the Confirmation ID, enter it and hit Activate. 

What must be done to check for Windows updates?

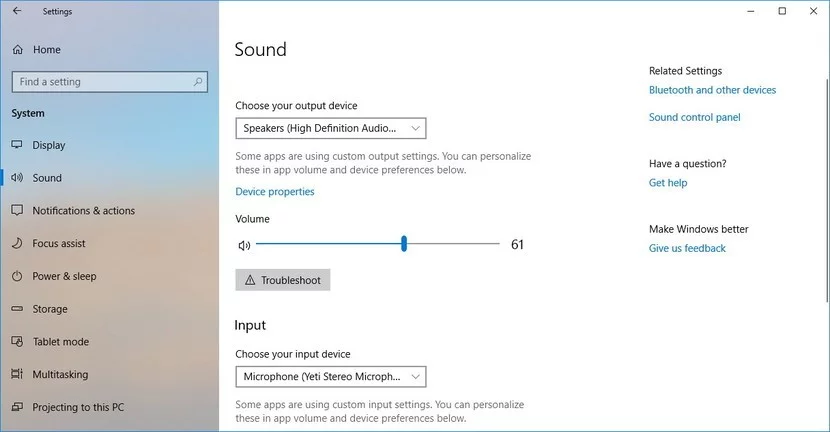
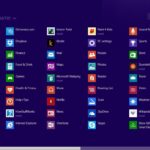
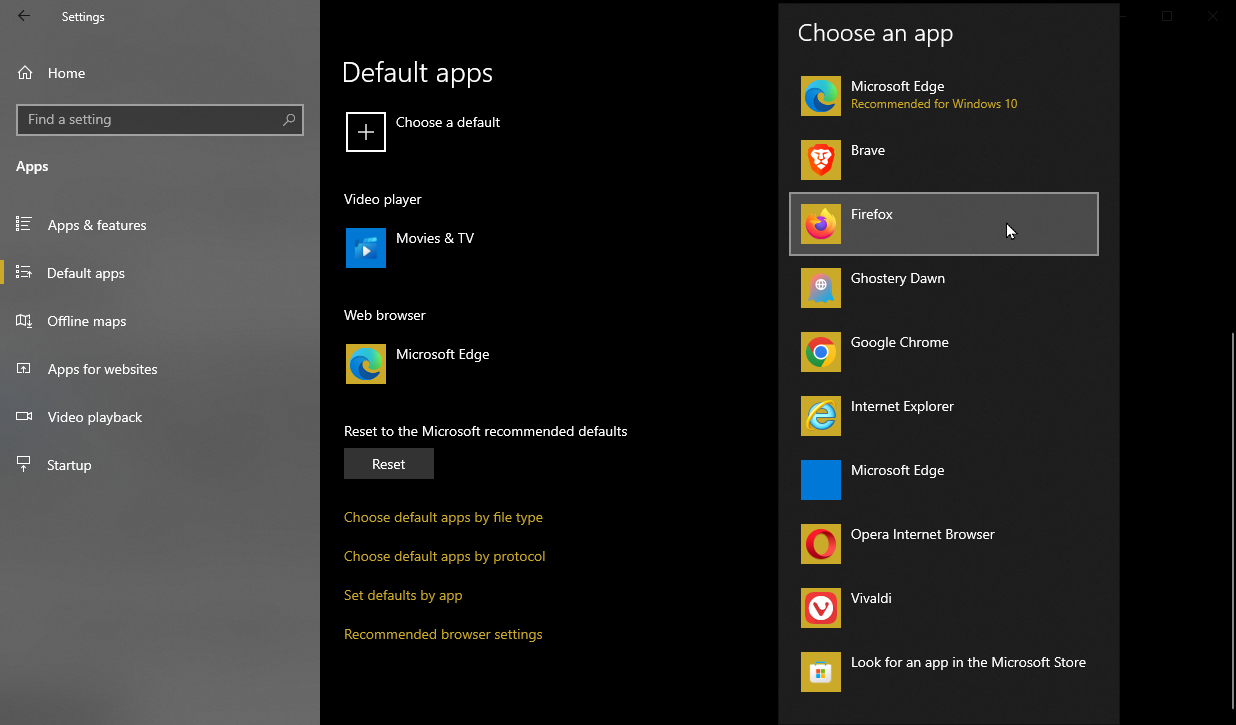
  • Step 1: Press Windows + I to open Settings, click Update & Security then pick Check for updates in Windows Update.
  • Step 2: If an update is available, allow Windows to download and install it.
  • Step 3: Restart your computer.

Windows Cannot Be Installed To This Disk. The Disk May Fail Soon

All in all, the installation/reinstallation of Windows could experience many errors and “Windows cannot be installed to this disk. The disk may fail soon” is one of them. In terms of solutions, you could make use of DiskPart, take advantage of Check Disk and replace the hard drive. Not exactly tech-savvy and have a hard time carrying out the solutions? Then this article is going to be of use to you. 

What You Could Do

Note: Since the error “Windows cannot be installed to this disk. The disk may fail soon” mentions possible disk failures, it’s wise to back up information. To do so go through the steps down below: 

  • Step 1: Go to Search bar, type Control Panel and hit Enter.
  • Step 2: Change View by to Category, select System & Security and choose pick Backup and Restore (Windows 7). 
  • Step 3: Click Create a system image, tick the On a hard disk circle and pick a drive for the backup. 
  • Step 4: Select Next, choose additional drives if necessary and hit Next. 
  • Step 5: Click Start backup, pick No and hit Close.

Make Use Of DiskPart 

  • Step 1:  Go to Search bar, type cmd and hit Run as administrator.
  • Step 2: In Command Prompt (Admin), run these commands one-by-one:
    • diskpart
    • list 
    • select disk 0
    • clean
  • Step 3: If you see the message saying DiskPart succeeded in cleaning the disk, run the command exit to close the Command Prompt and restart your computer. When the screen comes back on, install/reinstall Windows and see how things turn out. 

Take Advantage Of Check Disk 

  • Step 1: Open Command Prompt (Admin) then run the command chkdsk /f c:. 
  • Step 2: If prompted, type Y and hit Enter. 
  • Step 3: Restart your computer as soon as the process completes. Last but not least, install/reinstall Windows and determine whether the issue persists. 

Replace The Hard Drive

None of the above works? In that case, your drive is the root of the problem and you must replace it. Nowadays, hard drives for computers come in all shapes and sizes so there is no need to worry about running out of options. Still, it’s strongly recommended that you stick to models made by well-known names. After you finish replacing the driver, clean install Windows: 

  • Step 1: Go to another computer, launch the web browser and visit Microsoft’s official website.
  • Step 2: Navigate to Software Download, download the Media Creation Tool and move the tool to a flash drive. 
  • Step 3: Run the tool, click Create installation media for another PC and pick Language, Edition and Architecture. Progress through the prompts and set up the options as you see fit but make sure that you use flash drive for installation media. Next, unplug the drive from its current computer and plug it into your computer. Proceed to turn on your computer and as the screen begins to load, press the BIOS key (F10, F2, F12, F1, DEL, etc). 
  • Step 4: In BIOS, change the boot order to the flash drive so installation media could load up first. Once everything is in order, save the changes and restart your computer. Finally, follow on-screen instructions to complete the installation of Windows. 

Questions And Answers 

How do I recover my computer using a system image? 

  • Step 1: Click Start menu then pick the cog icon to open Settings.
  • Step 2: Select Update & Security, choose Recovery and Hit Restart now under Advanced startup to reach Windows Recovery Environment (WinRE).
  • Step 3:  In Choose an option screen, Select Troubleshoot, choose Advanced Options and hit System Image Recovery. 
  • Step 4: Follow on-screen instructions. 

What must be done to check for Windows updates? 

  • Step 1: Open Settings, click Update & Security then pick Check for updates in Windows Update.
  • Step 2: If an update for Windows is available, download and install it.
  • Step 3: Restart your computer.

NVIDIA Container High Disk Usage 

If you neglect driver updates for your NVIDIA GPU, the driver would become obsolete and NVIDIA Container high disk usage is one of the consequences. To bring the disk usage of NVIDIA Container back to normal, you must update the graphics card driver. Other solutions include uninstalling and reinstalling the NVIDIA GPU driver, disabling GeForce overlay, restarting NVIDIA services, renaming NVIDIA Container, running a malware scan, etc. Read to the end to free up resources and use your graphics card to good effect. 

NVIDIA Container Using Too Much Disk: Breakdown


Generally speaking, NVIDIA Container uses little resources in most of the cases so Windows users don’t have to worry about it. Still, if you notice NVIDIA Container high disk usage in Task Manager, you need to take these possibilities into account: 

  • Out-of-date driver. 
  • GeForce overlay. 
  • NVIDIA services.
  • NVIDIA Container
  • Malware. 

How To Reduce Disk Usage Of NVIDIA Container

Update Driver

  • Step 1: Go to Search bar, type devmgmt.msc and press Enter. 
  • Step 2: In Device Manager, expand Display adapters, right-click your NVIDIA GPU and pick Update driver. 
  • Step 3: Follow on-screen instructions to update the driver. 
  • Step 4: Restart your computer after the process finishes.
  • Step 5: When the screen comes back on, open Task Manager and determine whether the issue persists. 

Note: If you have NVIDIA GeForce Experience on your PC, you could use it to update the display driver. 

  • Step 1: Launch NVIDIA GeForce Experience.
  • Step 2: Go to Drivers tab then hit CHECK FOR UPDATES.
  • Step 3: If a driver update for your graphics card is available, download and install it
  • Step 4: Restart your computer. 
  • Step 5: See how things turn out. 

Alternatively, 

  • Step 1: Launch your web browser then visit the official NVIDIA website. 
  • Step 2: Locate the latest driver for your GPU and download it.
  • Step 3: Right-click the downloaded driver setup then pick Run as administrator.
  • Step 4: Follow on-screen instructions and restart your computer. 
  • Step 5: Witness the result. 

Uninstall And Reinstall Driver

  • Step 1: Open Device Manager, right-click your NVIDIA GPU in Display adapters and pick Uninstall device. 
  • Step 2: Check the checkbox next to Delete the driver software for this device before hitting OK.
  • Step 3: Restart your computer. 

Disable GeForce Overlay 

All in all, while many people find the GeForce overlay helpful, it could cause issues on occasions. Hence, once it comes to NVIDIA Container high disk usage, you should disable GeForce overlay. 

  • Step 1: Launch NVIDIA GeForce Experience.
  • Step 2: Hit the gear icon near the top. 
  • Step 3: Toggle off the switch next to IN-GAME OVERLAY.

Note: Depending on the situation, you should consider getting rid of GeForce Experience.

  • Step 1: Go to Search bar, type Control Panel and press Enter.
  • Step 2: In Control Panel, change View by to Category then hit Uninstall a program under Program.
  • Step 3: Locate GeForce Experience, right-click it and pick Uninstall.
  • Step 4: Follow onscreen instructions. 
  • Step 5: The moment the process completes, restart your computer. 

Restart NVIDIA Services

  • Step 1: Go to Search bar, type services.msc and press Enter.
  • Step 2: In Services, locate each of the NVIDIA services and pick Restart. 
  • Step 3: Allow the process to go all the way. 

Rename NVIDIA Container

  • Step 1: Right-click an empty space on the taskbar and pick Task Manager.
  • Step 2: Locate NVIDIA Container, right-click it and pick Open file location 
  • Step 3: Right-click the executable file nvcontainer.exe/nvdisplay.container.exe pick Rename and give the file a new name. 

Run A Malware Scan 

  • Step 1: Open Start menu, locate the gear icon and hit it. 
  • Step 2: In Settings, select Update & Security then choose Virus & threat protection in Windows Security. 
  • Step 3: Click Scan options, pick Full scan and hit Scan now
  • Step 4: Once the process wraps up, restart your computer.