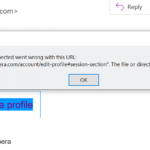
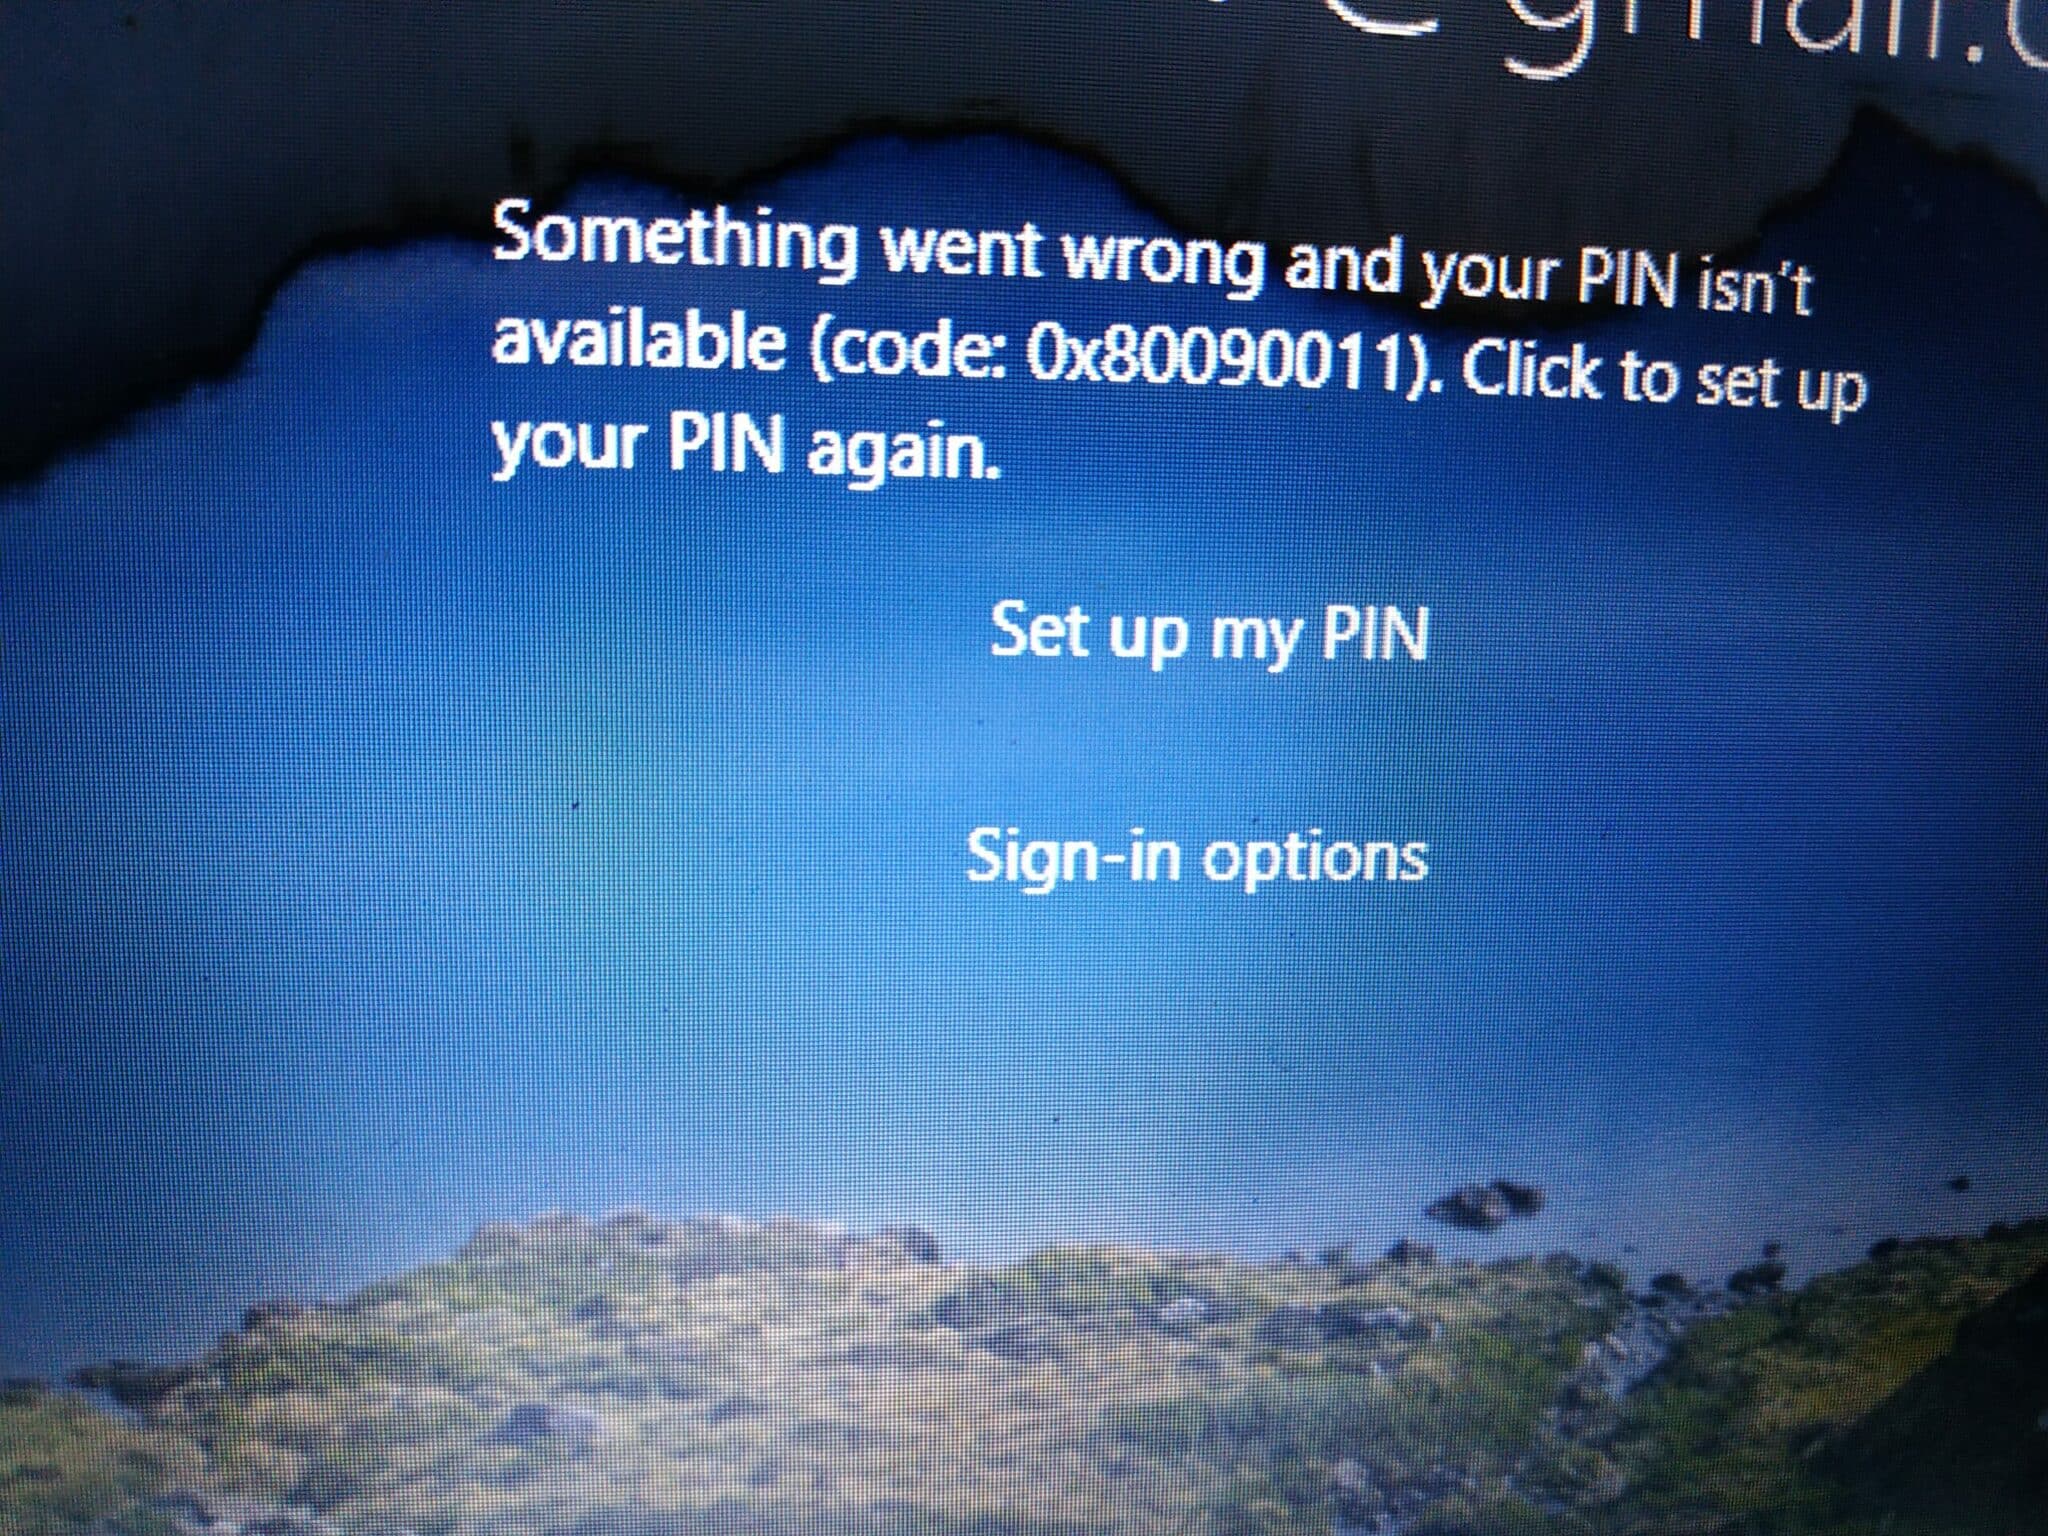
On Windows, the crashing of PIN service usually results in the error “Something went wrong and your PIN isn’t available”. All you have to do to tackle the error is to reset your PIN using your Microsoft account. Besides that, you could delete the NGC folder, make use of System Restore, take advantage of Startup Repair, uninstall Windows updates, tweak the Registry, etc. Read to the end and learn what must be done to bring PIN back to normal.
PIN Errors: The Usual Suspects
Generally speaking, like other elements of Windows, PIN may experience errors from time to time. In the case of “Something went wrong and your PIN isn’t available”, you should consider the possibilities down below:
- Bugs.
- Windows updates.
- Registry.
What You Could Do

Reset PIN
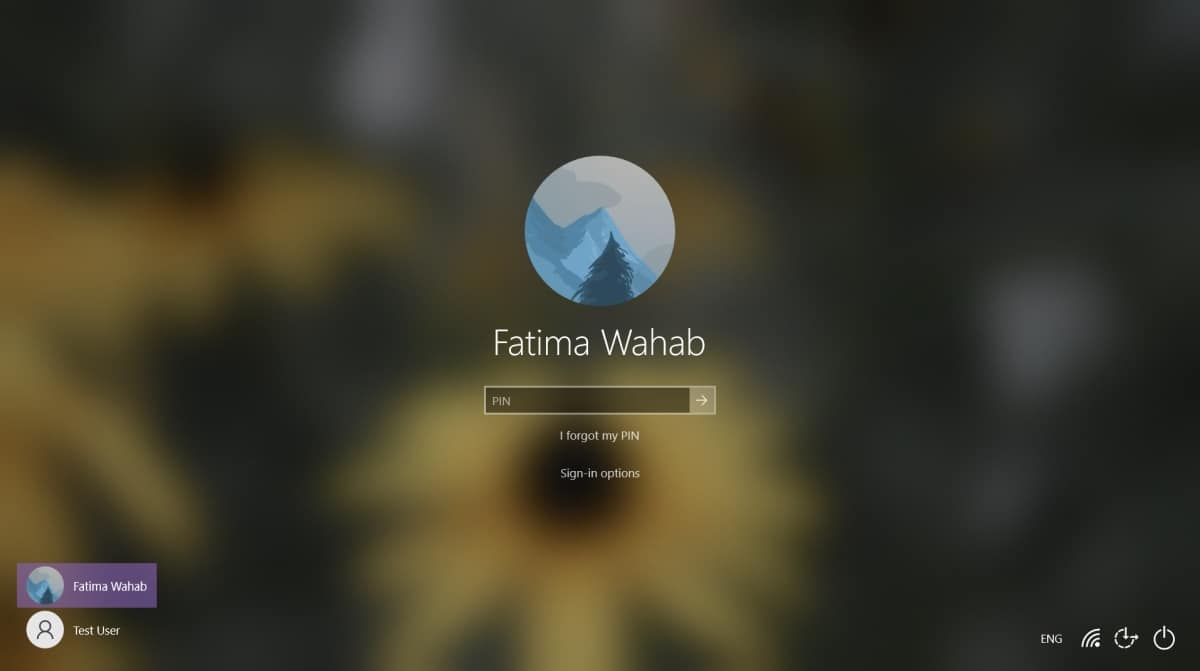
- Step 1: The moment you see the error, click Set up my PIN under it, enter your Microsoft Account credentials and pick Sign in.
- Step 2: If you have two-factor authentication, proceed to verify your identity using your phone number, email, …. Follow the instructions to finish the verification process.
- Step 3: Hit Continue once prompted. If you come across an error about Internet connection, press Retry and repeat the steps.
- Step 4: Create a new PIN then use it to sign in.
Note: In the case that you have set a password for your PC, go through these steps to reset PIN.
- Step 1: Select Sign-in options, choose the Key icon and enter your password to sign in.
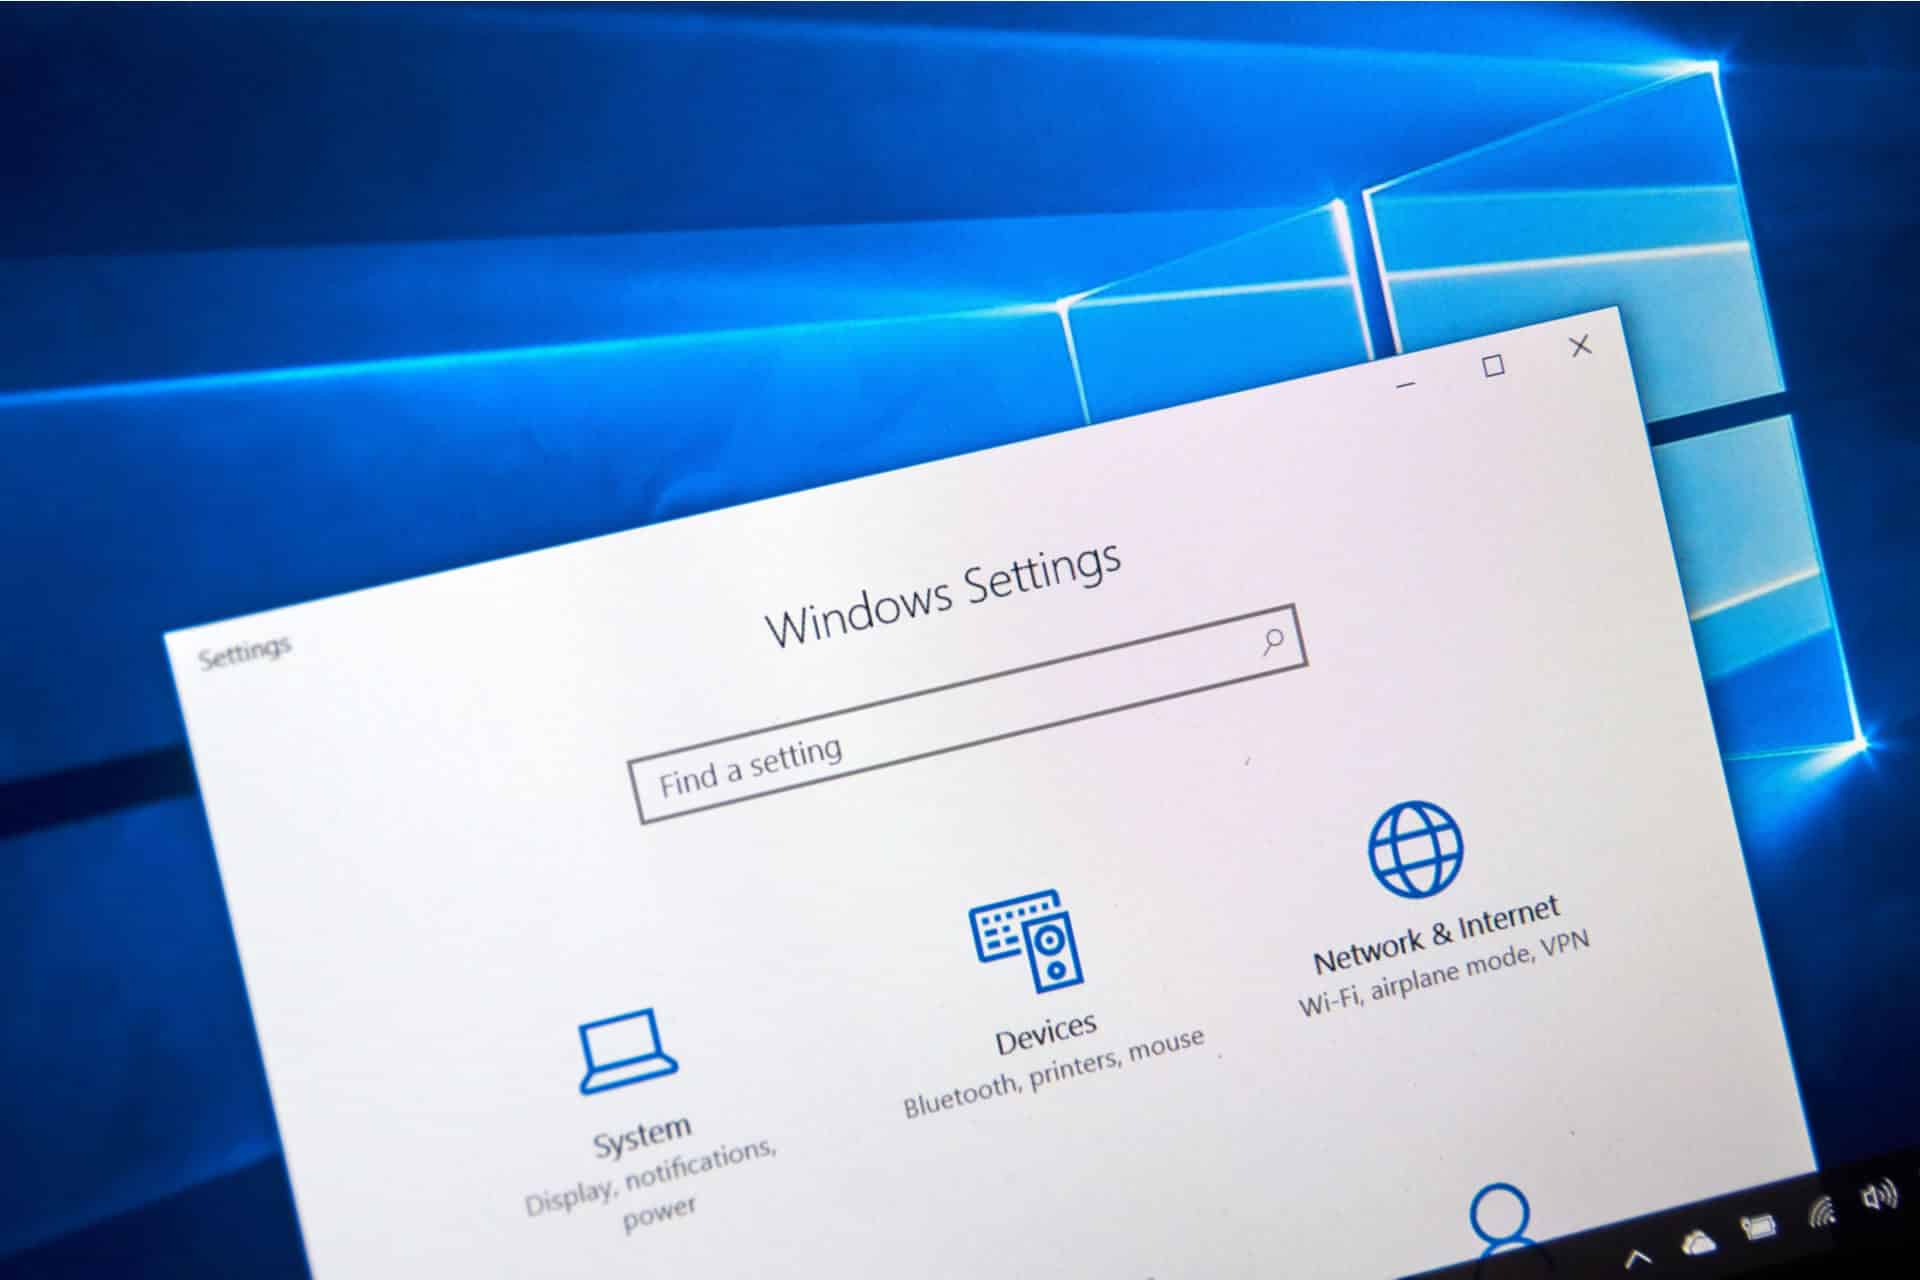
- Step 2: As soon as you reach the home screen, press Windows + I to open Settings, click Accounts and pick Sign-in options.
- Step 3: Select Windows Hello PIN, choose Remove and hit Add to create a new PIN
Delete The NGC Folder
- Step 1: Shut down your computer by long-pressing the power button.
- Step 2: Turn on your computer and as Windows begins to load, long-press the power button to shut it down again.
- Step 3: Repeat the process until you reach Windows Recovery Environment (WinRE)
- Step 4: In Choose an options screen, go to Troubleshoot > Advanced options > Startup Settings > Restart.
- Step 5: Press either 4 (F4) to boot into Safe Mode or 5 (F5) to boot into Safe Mode with Networking.
- Step 6: In the home screen, press Windows + E to open File Explorer, hit View and check the checkbox next to Hidden items.
- Step 7: Navigate to C:\Windows\ServiceProfiles\LocalService\AppData\Local\Microsoft\NGC
- Step 8: Locate the NGC folder, right-click it and pick Delete.
- Step 9: Restart your computer.
- Step 10: Set up a new PIN then use it to sign in from that point onward.
Make Use Of System Restore
- Step 1: Boot into WinRE then go to Troubleshoot > Advanced options > System Restore.
- Step 2: Select a restore point, choose Next and hit Finish to initiate the restoration.
- Step 3: See how things turn out.
Take Advantage Of Startup Repair
- Step 1: Boot into WinRE then go to Troubleshoot > Advanced options > Startup Repair.
- Step 2: Allow the process to go all the way.
- Step 3: Restart your computer.
Uninstall Windows Updates
- Step 1: Boot into WinRE then go to Troubleshoot > Advanced options > Uninstall Update.
- Step 2: Hit Uninstall Latest Feature Update then follow on-screen instructions to uninstall the update.
- Step 3: Restart your computer
If the issue persists, repeat the process but go for Uninstall Latest Quality Update instead.
Tweak The Registry
- Step 1: Boot into WinRE then go to Troubleshoot > Advanced options > Command Prompt.
- Step 2: In Command prompt, type regedit then hit Enter to open Registry Editor
- Step 3: Select HKEY_LOCAL_MACHINE, choose File and hit Load Hive
- Step 4: Normally, the hive files can be located in C:\Windows\System32\config. Feel free to replace C: with the drive character your OS is on if necessary.
- Step 5: Locate and load the SOFTWARE hive then rename it to zsoftware
- Step 6: Navigate to HKEY_LOCAL_MACHINE\zsoftware\Microsoft\WindowsNT\CurrentVersion\PasswordLess\Device.
- Step 7: Change the value of DevicePasswordLessBuildVersion from 2 to 0 to turn off the Require Windows Hello for signing in
- Step 6: Restart your computer.
Alternatively,
- Step 1: Boot into WinRE then go to Troubleshoot > Advanced options > Command Prompt.
- Step 2: In Command prompt, type regedit then hit Enter to open Registry Editor
- Step 3: Select HKEY_LOCAL_MACHINE, choose File and hit Load Hive
- Step 4: Normally, the hive files can be located in C:\Windows\System32\config. Feel free to replace C: with the drive character your OS is on if necessary.
- Step 5: Locate and load the SYSTEM hive then rename it to zsystem.
- Step 6: Navigate toHKEY_LOCAL_MACHINE\zsystem\ControlSet001\Services
- Step 7: Change the value of these services to 3 (Manual Startup)
- lmhosts (TCP/IP NetBIOS Helper)
- Netman (Network Connections)
- VaultSvc (Credential Manager)
- Wecsvc (Windows Event Collector)
- WbioSrvc (Windows Biometric Serviced)
- wlidsvc (Microsoft Account Sign-in Assistant)
- Step 8: Change the value of these services to 2 (Automatic Startup)
- Dhcp (DHCP Client)
- EventLog (Windows Event Log)
- EventSystem (COM+ Event System)
- LanmanServer (Server)
- LanmanWorkstation (Workstation)
- NlaSvc (Network Location Awareness)
- nsi (Network Store Interface Service)
- SamSs (Security Accounts Manager)
- Step 9: Restart your computer.
- Step 10: Witness the result.
Reset PC
- Step 1: Boot into WinRE then go to Troubleshoot > Reset This PC.
- Step 2: Select Keep my files and enter your password, choose Continue and hit Reset.
- Step 3: Wait as Windows resets.
The “Something went wrong and your pin isn’t available” issue usually occurs when the PIN service crashes. To fix this, you can reset your PIN using a Microsoft account. Additionally, you can also make use of the Troubleshoot functions, change values in the Registry Editor, and reset your PC. Check out the whole article to have your problem solved.