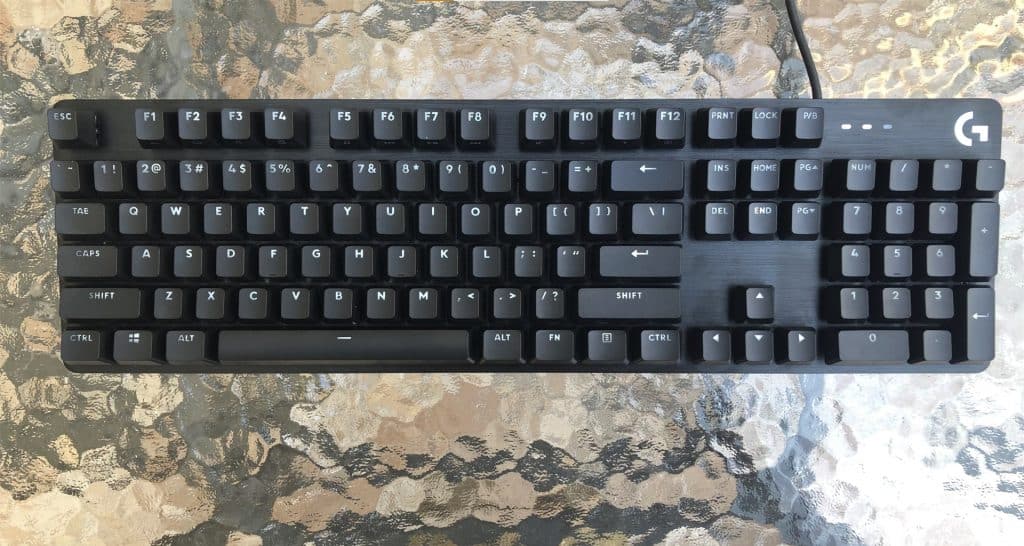
Among complaints regarding keyboard issues on Windows computers, Alt and Windows keys are switched is a topic that attracts special attention. The number one suspect in most of the cases is the keyboard driver and driver update is the best solution. Besides that, you could apply changes to keyboard settings, try out keyboard shortcuts, etc. Read to the end to learn what must be done to bring the keys back to normal.

How To Bring The Keys Back To Normal
Update Keyboard Driver
- Step 1: Go to Search bar, type devmgmt.msc and press Enter to open Device Manager.
- Step 2: Expand Keyboards, right-click your keyboard and pick Update driver.
- Step 3: Follow onscreen instructions.
- Step 4: After the update finishes, restart your computer.
- Step 5: When the screen comes back on, test out the keys and determine whether the issue persists.
Change Keyboard Settings
A number of keyboards contain a toggle that lets users change between “Windows/Android” and “iOS/Mac”. If people don’t set the toggle properly, keys on such keyboards could behave erratically.
Try Out Keyboard Shortcuts
On many keyboards for laptops, there is a key that once pressed alongside other keys will change the nature of some keys: Fn key. Because of that, you should try out keyboard shortcuts when Alt and Windows keys are switched out of the blue.
- Fn + A.
- Fn + S.
- Fn + Spacebar, hold down for 5 seconds.
- Fn + W, hold down for 5 seconds.
What Might Have Gone Wrong
In use, Windows keyboards may experience many issues but if Alt and Windows keys are switched, it’s highly likely that the keyboard driver is responsible. For your information, if the keyboard driver acts up, it’s only natural for the performance of keyboards to suffer. Furthermore, if you mess up while configuring keyboard settings, the keyboard would go haywire. Last but not least, in the case that your computer is a laptop, some keyboard shortcuts could influence the functions of Alt and Windows keys.
Keyboard Maintenance: A Novice’s Guide
As time passes by, dirt could accumulate on the keyboard and disrupt the operations of keys. Therefore, it’s wise to invest time and effort in keyboard maintenance. On average, you should give your keyboard a quick clean once a month and an in-depth clean once a year.

- Step 1: Shut down the computer and unplug the keyboard. Avoid unplugging the keyboard while the power is still on as that could cause the circuit board to burn out. Next, lift the keyboard, flip it upside down and tap gently to remove most of the loose dust.
- Step 2: Use compressed air to get rid of the rest of the dust build-ups. Remember to position the keyboard sideways on a stable surface so the dust falls out smoothly. Aim the straw of the can through the gaps between the keys as well as under them. Assuming that things go well, stubborn dust should fall out or at least become loose enough to be removed by a few taps.
- Step 3: Get a hold of a keyboard vacuum to clean the keyboard. Many types of vacuum exist so pick up one that suits your preferences but you should take suction power, battery life and so on into account. Lightly dampen a piece of cloth using isopropyl then use it to clean the tops of the keys. For your information, isopropyl dies far more quickly than water so it excels at cleaning keys.
- Step 4: If keys on your keyboard could be removed, you can detach the keys for thorough cleaning. Of course, key removal is a dedicated process so you must stay focused to avoid damaging the keys by mistake. Soak the removed keys in a mixture of water and soap then let them dry before putting them back.
- Step 5: Connect the keyboard to the computer, turn on power and see how things turn out.


As PCWorld’s senior editor, Mark focuses on Microsoft news and chip technology, among other beats. He has formerly written for PCMag, BYTE, Slashdot, eWEEK, and ReadWrite.


