

Overall, if you notice entries about nvlddmkm Event ID 14 in Event Viewer, it’s highly likely that the driver of your NVIDIA GPU is obsolete. Once it comes to the obsolescence of drivers, driver update is the best solution. Aside from that, you could also uninstall and uninstall the driver, check for Windows updates, run Check Disk, underclock the GPU, … Read to the end to be able to carry out the solutions on your own and get the most out of the NVIDIA GPU.
Event Viewer Recording NVLDDMKM Event ID 14: Breakdown
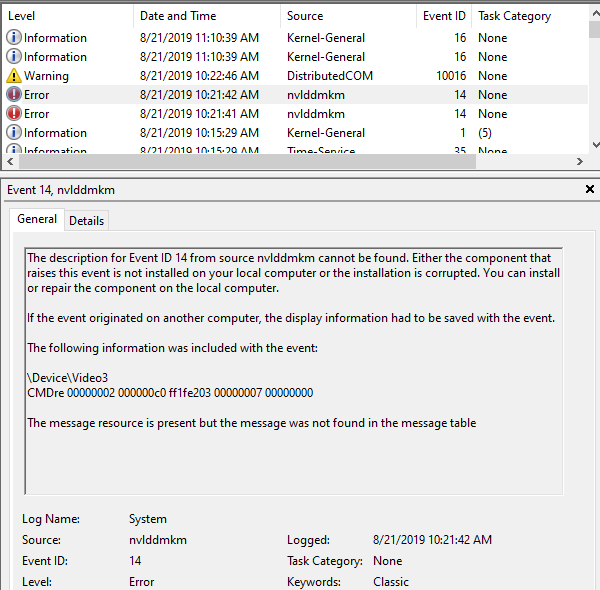
Generally speaking, by taking advantage of Event Viewer, you could gain insights into the status of your PC. If Event Viewer records nvlddmkm Event ID 14 from time to time, the list of suspects includes:
- Obsolete driver.
- Windows is out-of-date.
- Corruption.
- GPU issues.
How To Remove NVLDDMKM Event ID 14 From Event Viewer

Update Driver
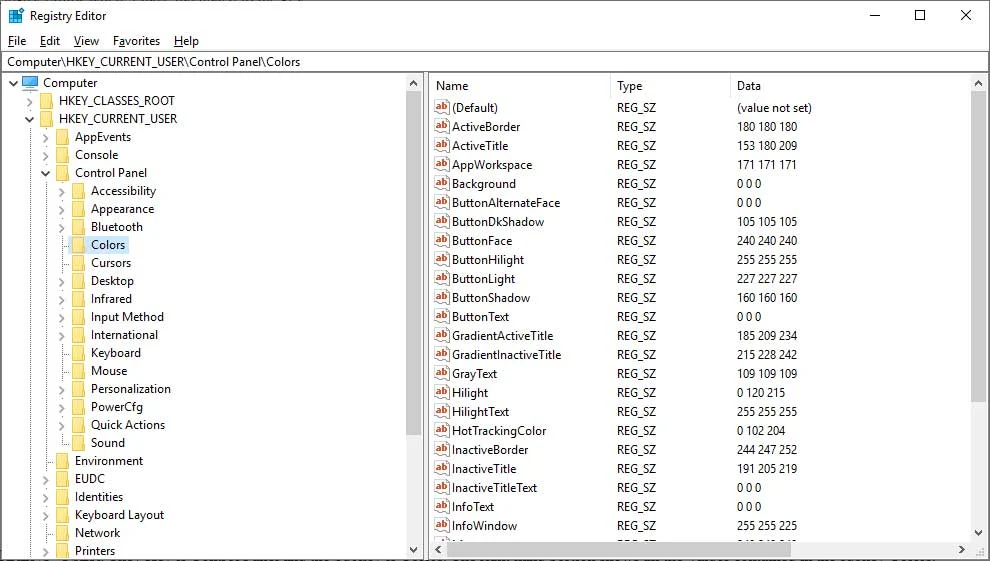
Device Manager
- Step 1: Go to Search bar, type devmgmt.msc and hit Enter to open Device Manager.
- Step 2: Expand Display adapters, right-click your NVIDIA GPU and pick Update driver.
- Step 3: Follow onscreen instructions to update the driver.
- Step 4: After the process finishes, restart your computer.
- Step 5: Witness the result when the screen comes back on.
NVIDIA GeForce Experience
- Step 1: Launch NVIDIA GeForce Experience. If you don’t have NVIDIA GeForce Experience on your computer, download and install it.
- Step 2: Go to Driver tab then hit CHECK FOR UPDATES.
- Step 3: If a driver update is available, download and install it then restart your computer.
Manual
- Step 1: Launch your web browser then visit the NVIDIA official website.
- Step 2: Locate the latest driver for your NVIDIA GPU and download it.
- Step 3: Right-click the downloaded driver setup, pick Run as administrator and follow on-screen instructions.
- Step 4: Restart your computer.
- Step 5: See how things turn out.
Uninstall And Reinstall The Driver
- Step 1: Open Device Manager, right-click your NVIDIA GPU in Display adapters and pick Uninstall device.
- Step 2: Check the checkbox next to Delete the driver software for this device before hitting OK.
- Step 3: Restart your computer.
Check For Windows Updates
- Step 1: Press Windows + I to open Settings.
- Step 2: Select Update & Security then choose Check for updates in Windows Update.
- Step 2: If an update is available, allow Windows to download and install it.
- Step 3: Once the process wraps up, restart your computer.
Run Check Disk
- Step 1: Go to Search bar, type cmd and Run as administrator.
- Step 2: In Command Prompt (Admin), type the command chkdsk /f c: then hit Enter.
- Step 3: If prompted, proceed to type Y and hit Enter.
- Step 4: Restart your computer as soon as the process concludes.
- Step 5: Determine whether the issue persists.
Note: At times, it’s wise to run Memory Diagnostics as well.
- Step 1: Go to Search bar, type Windows Memory Diagnostics and hit Enter.
- Step 2: Hit Restart now and check for problems.
- Step 3: Let the process go all the way, read the result and act accordingly.
Underclock The GPU
At the moment, there is no shortage of tools that could underclock graphics cards. For ease of convenience, we perform the process using MSI Afterburner, one of the best tools in terms of utility.
- Step 1: Launch your web browser then visit the MSI official website.
- Step 2: Look for Afterburner, scroll down and download the Windows version (1st one from the left). Remember to tick the Save file circle before hitting OK
- Step 3: After the download finishes, open the Download tab on your browser, right-click the MSI Afterburner setup zip file and pick Open Containing Folder
- Step 4: Drag the folder to your desktop, right-click it, pick Extract All and hit Extract
- Step 5: Open the 4.6.2 folder, double-click the setup file and pick OK. Proceed to follow the onscreen instruction (agree to the terms, install optional components, decide the installation location, …). In the last dialogue, uncheck the Read me checkbox and hit Finish. Finally, open MSI Afterburner, go to Core Clock slider and move it to the left until it is at -50.